A powerful motor can make a poorly fitted bike feel fine for the first few blocks. Then your knees start talking, your hips rock side to side, or you find yourself standing at every stop because the saddle is too high. Learning to adjust eBike saddle height is one of the quickest ways to make every ride more comfortable, controlled, and enjoyable.
The right saddle height helps you pedal efficiently while still giving you confidence when pulling up to a stoplight, crossing a sandy trail section, or cruising through your neighborhood. That matters especially on an eBike: pedal assist encourages longer rides, so a small fit issue has more time to become an annoying one.
Why eBike Saddle Height Makes Such a Difference
Your saddle is the foundation of your riding position. When it is too low, your knees remain overly bent through each pedal stroke. You may feel pressure at the front of the knee, tire sooner than expected, and lose some of the smooth power you want when climbing a bridge or accelerating from a stop.
Set it too high, and your body starts reaching for the pedals. Your hips may sway with every rotation, your hamstrings can feel tight, and you may struggle to put a foot down quickly. A high saddle can also make a step-through eBike, fat-tire bike, or electric trike feel less secure at low speed.
Motor assistance changes the equation slightly, but it does not eliminate the need for proper fit. You may not need the aggressive, fully extended position preferred by a fast road cyclist. For commuting, recreational riding, and everyday Northeast Florida exploring, most riders benefit from a comfortable position that supports efficient pedaling and easy stops.
How to Adjust eBike Saddle Height at Home
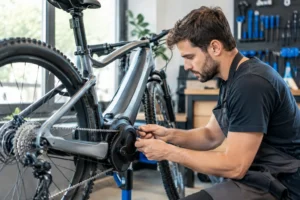
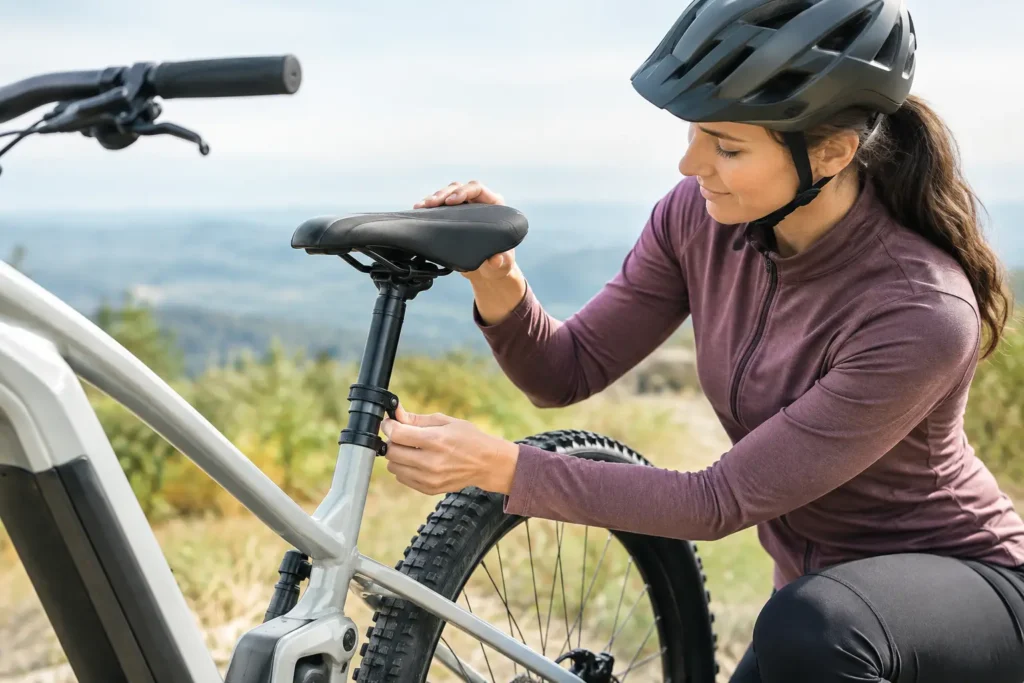
Start on level ground with the bike powered off. If your eBike is heavy, ask someone to steady it or place it in a secure work stand. Locate the seatpost clamp where the post enters the frame. Many bikes use a quick-release lever, while others use a bolt that requires an Allen key.
Before changing anything, look for the minimum-insertion line on the seatpost. That line must remain inside the frame at all times. Raising a post beyond that mark can damage the frame or seatpost and create a safety hazard. If you need substantially more height but have reached the limit, a longer compatible seatpost may be the answer.
A reliable starting point is the heel method. Sit on the saddle wearing the shoes you normally ride in. Hold onto a wall, have a helper steady the bike, or use a trainer if available. Put one heel on the pedal and rotate it to the bottom of the pedal stroke. Your leg should be straight or nearly straight without your hip lifting off the saddle.
Then place the ball of your foot back on the pedal, where it belongs when riding. At the bottom of the stroke, your knee should have a gentle bend, not be locked straight and not feel deeply compressed. This is a starting point, not a rigid rule. Your body, saddle shape, crank length, riding style, and footwear all affect the final setting.
Tighten the clamp according to the torque marking on the bike or seatpost. Do not guess or overtighten, particularly with aluminum components and carbon parts. Close a quick-release lever firmly so it leaves an imprint in your palm when closed, but do not use the lever like a wing nut. If the saddle twists or slides down during a ride, stop and correct it before continuing.
Test It With Low Pedal Assist
Take a short test ride in a quiet area with low assist. Pedal seated for several minutes, coast, make a few slow turns, and stop normally. Notice whether your hips stay stable and whether you can start smoothly after stopping.
If your knees feel cramped or you are spinning with little leverage, raise the saddle a small amount. If you must point your toes to reach the bottom of the pedal stroke, feel pulled from the saddle, or hesitate at stops, lower it. Make adjustments in small increments – about 3 to 5 millimeters at a time. Even a tiny change can be noticeable over a longer ride.
Set Height for the Way You Actually Ride
There is no single saddle height that suits every eBike rider. A Jacksonville commuter who pedals several miles each way may prefer a slightly higher, more efficient setup. Someone riding a beachside path, neighborhood streets, or a relaxed rail trail may choose a touch lower for easier footing and frequent stops.
A lower position often makes sense for first-time riders, people rebuilding confidence after time away from cycling, and riders using a heavy fat-tire eBike. It can also feel better when navigating crowded paths or carrying cargo. The trade-off is that pedaling can become less efficient if the saddle is dropped too far.
On an electric trike, stable seating is especially valuable. Set the saddle so you can pedal through a comfortable range without sliding forward or reaching for the pedals. Because a trike remains upright at stops, you do not need to lower the seat simply to plant a foot on the ground. Instead, prioritize knee comfort and a natural pedal stroke.
For a folding eBike used around an RV park or campground, choose a position that lets you comfortably start, stop, and maneuver in tight spaces. If more than one person shares the bike, mark each rider’s preferred seatpost height with a small piece of tape or a discreet line. That makes switching back and forth much easier.
Saddle Height Is Only Part of a Comfortable Fit
Once height feels close, check the saddle angle and fore-aft position. Most riders should begin with the saddle level. If the nose tips sharply upward, it can create pressure and make you feel restricted. If it points too far downward, you may slide toward the handlebars and place excess weight on your hands and wrists.
Fore-aft adjustment comes from moving the saddle rails in the clamp. With the pedals level, a common starting reference is to position the front of the kneecap roughly over the pedal axle on the forward pedal. It is not a mandatory measurement, but it can reveal an obviously cramped or overextended setup. Make one change at a time so you know what improved the ride.
Handlebar reach matters too. A saddle that is correct in height can still feel wrong if you are leaning too far forward. Upright city and step-through eBikes are designed to support a relaxed posture, while performance-oriented full-suspension and mid-drive bikes may place you in a more active position. A suspension seatpost, comfort saddle, or handlebar adjustment can make a meaningful difference for riders managing back, hip, or wrist discomfort.
Signs Your Saddle Needs Another Adjustment
Pay attention after a few rides rather than judging the setup from one lap around the block. Persistent pain at the front of the knee often points to a saddle that is too low or too far forward. Pain behind the knee can indicate that it is too high or too far back. Hip rocking usually means the saddle is higher than your body can comfortably support.
Numbness, pressure, or chafing may be more about saddle shape and angle than height. A wider comfort saddle can be a great choice for upright recreational riding, while a narrower saddle may better suit a more forward riding posture. Padded cycling shorts can help on longer rides, but they cannot fix a saddle that is tilted badly or positioned incorrectly.
If you have a prior knee, hip, or back injury, treat general fit advice as a starting point. A bike fitting professional or healthcare provider can help you find a position that respects your specific mobility needs.
Get a Confident, Comfortable Starting Position
A properly adjusted saddle lets you focus on the fun part: gliding past traffic, taking the long way through the neighborhood, or riding farther than you planned because you still feel good. Bring your bike by GO EBIKES in Yulee for hands-on help with fit, saddle comfort, accessories, and a setup that feels right before your next Northeast Florida ride. No matter where you ride in North Florida (Jacksonville, Arlington, Neptune Beach, Fleming Island, Normandy) having the right seat height on your ebike can be a real game changer for comfort.